# What are Custom Actions?
Give a published Chipp chat agent the ability to interact with external services. Custom actions apply to conversational agent deployments, one of the output types Alchemist can build.
---
> **Note:** Custom actions require a Studio plan or higher.
> href="https://build.chipp.ai/plans"
> target="_blank"
> rel="noopener noreferrer"
>
> >
> Upgrade to Studio →
>
Custom actions let your AI assistant do things beyond just chatting. When a user asks your assistant to send an email, update a spreadsheet, or check inventory, custom actions make it happen.
## How It Works
1. **User asks a question** → "Can you add John Doe to our mailing list?"
2. **AI recognizes the intent** → Needs to call the mailing list API
3. **Custom action executes** → Sends request to your email service
4. **AI responds with result** → "I've added John Doe to the mailing list"
## Real Examples
### Send a Slack Message
User: "Notify the team that the report is ready"
```bash
POST https://hooks.slack.com/services/YOUR_WEBHOOK
{
"text": "The Q4 report is ready for review"
}
```
### Look Up Customer Data
User: "What's the order status for customer #12345?"
```bash
GET https://api.yourstore.com/orders?customer_id=12345
```
### Create a Support Ticket
User: "Create a high priority ticket about the login issue"
```bash
POST https://api.helpdesk.com/tickets
{
"title": "Login authentication failing",
"priority": "high",
"description": "Users unable to log in since 3pm"
}
```
## What You Can Configure
### 1. The API Endpoint
Tell your assistant which URL to call:
- `https://api.yourservice.com/endpoint`
- Supports GET, POST, PUT, PATCH, DELETE
### 2. Authentication
Add your API credentials securely:
- API keys, bearer tokens, and basic auth
- OAuth 2.0 client credentials, with tokens fetched and refreshed for you
- Client certificates, for APIs that authenticate you during the TLS handshake or with a signed assertion
Credentials are stored as encrypted variables and referenced by name, so they never appear in the action itself or in what the AI can see. See [Authenticating Custom Actions](/docs/custom-actions/authentication) for how to pick the right type.
### 3. Parameters
Define what data to send:
- **Fixed values**: Same every time (like your API key)
- **AI-generated**: Assistant fills based on conversation
- **From other actions**: Use results from previous API calls
### 4. When to Use It
Write a description so the AI knows when to trigger this action:
- "Use this when user wants to send an email"
- "Call this to look up order information"
## Common Use Cases
**Customer Support**
- Look up account information
- Create and update tickets
- Send follow-up emails
**Sales & Marketing**
- Add leads to CRM
- Send notifications to Slack
- Update deal stages
**Operations**
- Check inventory levels
- Update spreadsheets
- Trigger workflows
**Data & Analytics**
- Query databases
- Generate reports
- Log events
## Why Use Custom Actions?
**Without custom actions**: Your AI can only talk about doing things.
**With custom actions**: Your AI actually does things.
Instead of saying "You'll need to manually add that to your CRM," your assistant says "I've added that contact to your CRM."
## Requirements
- Studio plan or higher
- API endpoint you want to connect to
- API credentials (if required)
- 5 minutes to set it up
## Quick Start
1. Go to [build.chipp.ai](https://build.chipp.ai) → Your App
2. Navigate to **Brain** → **Integrations**
3. In the **Custom APIs** card, click **Add API**
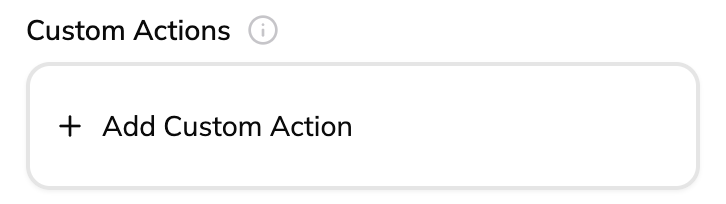 4. Paste a cURL command or configure manually
5. Test it and save
Your AI assistant can now interact with that service.
Continue to [Getting Started →](/docs/custom-actions/getting-started)