# Getting Started with Custom Actions
Create your first custom action in minutes
---
> **Note:** Custom actions require a Studio plan or higher.
> href="https://build.chipp.ai/plans"
> target="_blank"
> rel="noopener noreferrer"
>
> >
> Upgrade to Studio →
>
## Create Your First Action
### 1. Open Custom Actions
Navigate to [build.chipp.ai](https://build.chipp.ai) → Your App → **Brain** → **Integrations** → **Custom APIs** card → **Add API**
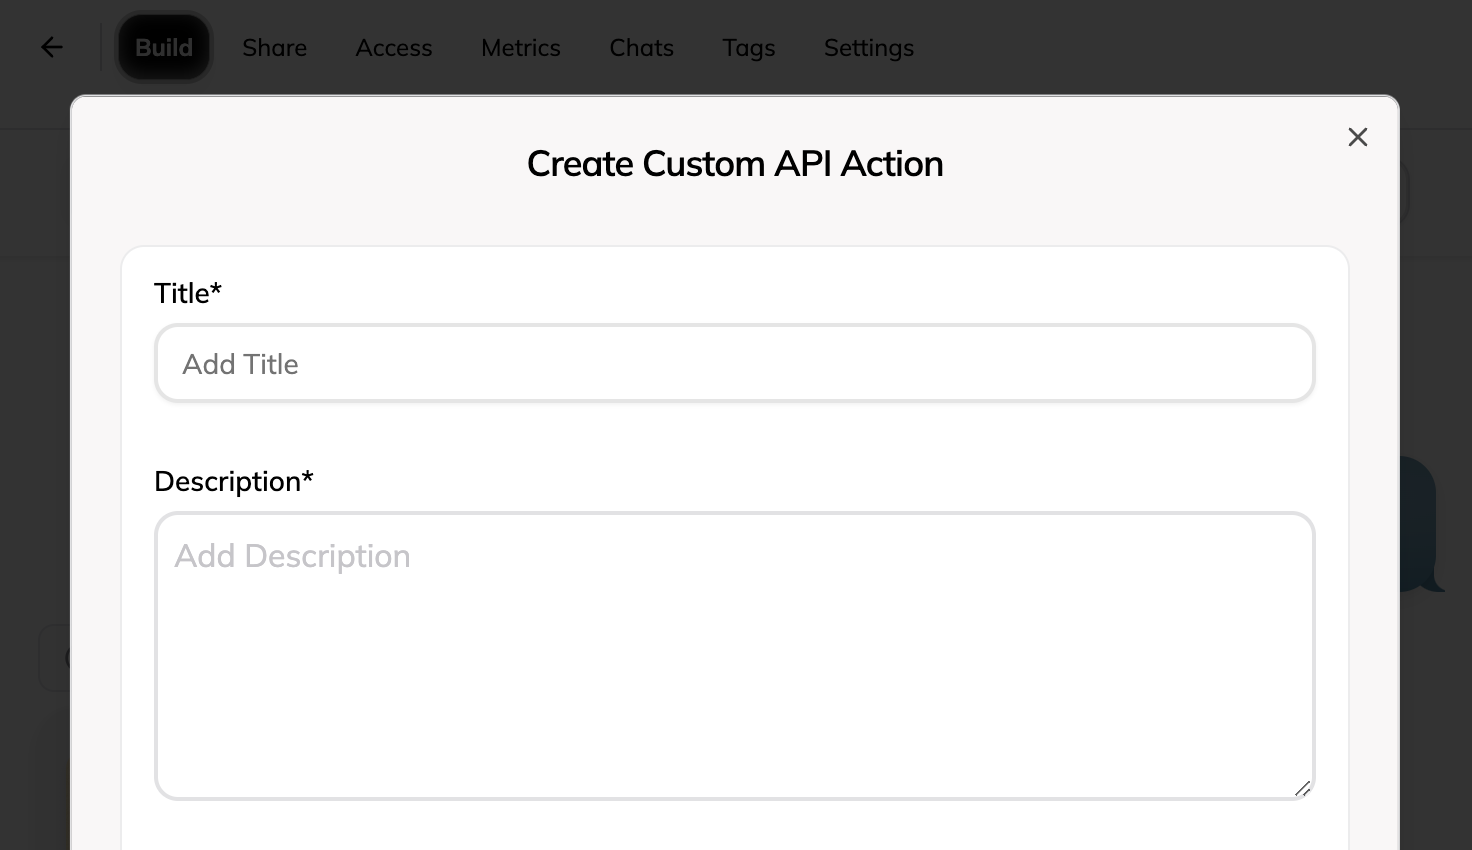 ### 2. Basic Configuration
Fill in the basic fields:
- **Title**: `Search Users`
- **Description**: `Search for users in the database by name or email`
- **Method**: `GET`
- **URL**: `https://api.example.com/users`
### 3. Add Parameters
Open the **Parameters** tab and click **Add** next to **Query Parameters**:
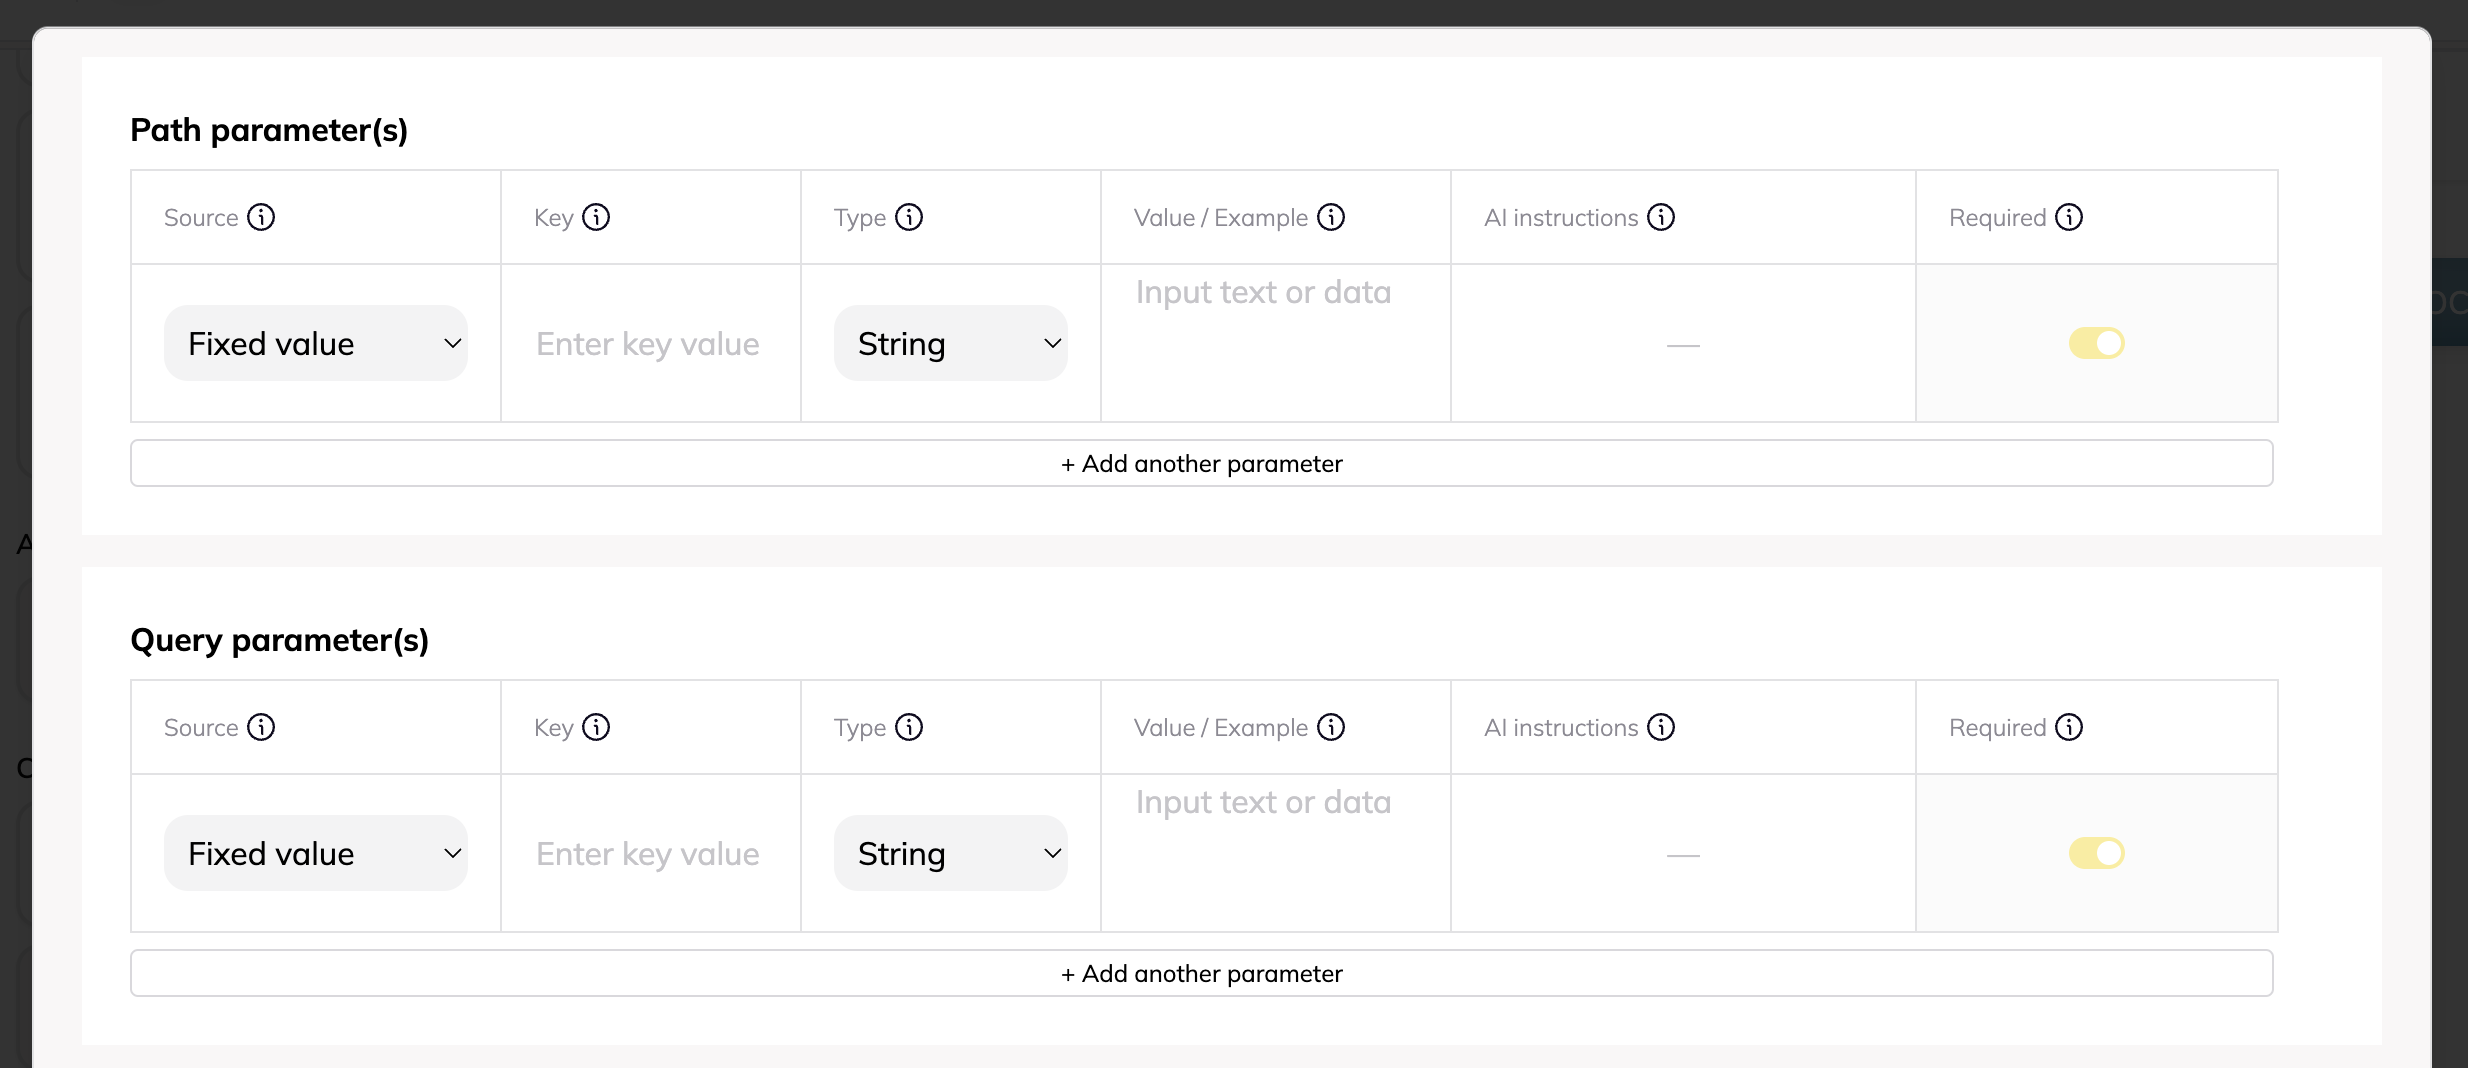 - **Key**: `query`
- **Source**: **AI fills it in**
- **Instructions**: `Search term based on user's request, such as a name or email address`
- **Type**: Text, **Required**: on
- **Sample value** (optional): `jane@example.com`, so the AI sees the format and **Test Request** has a value to send
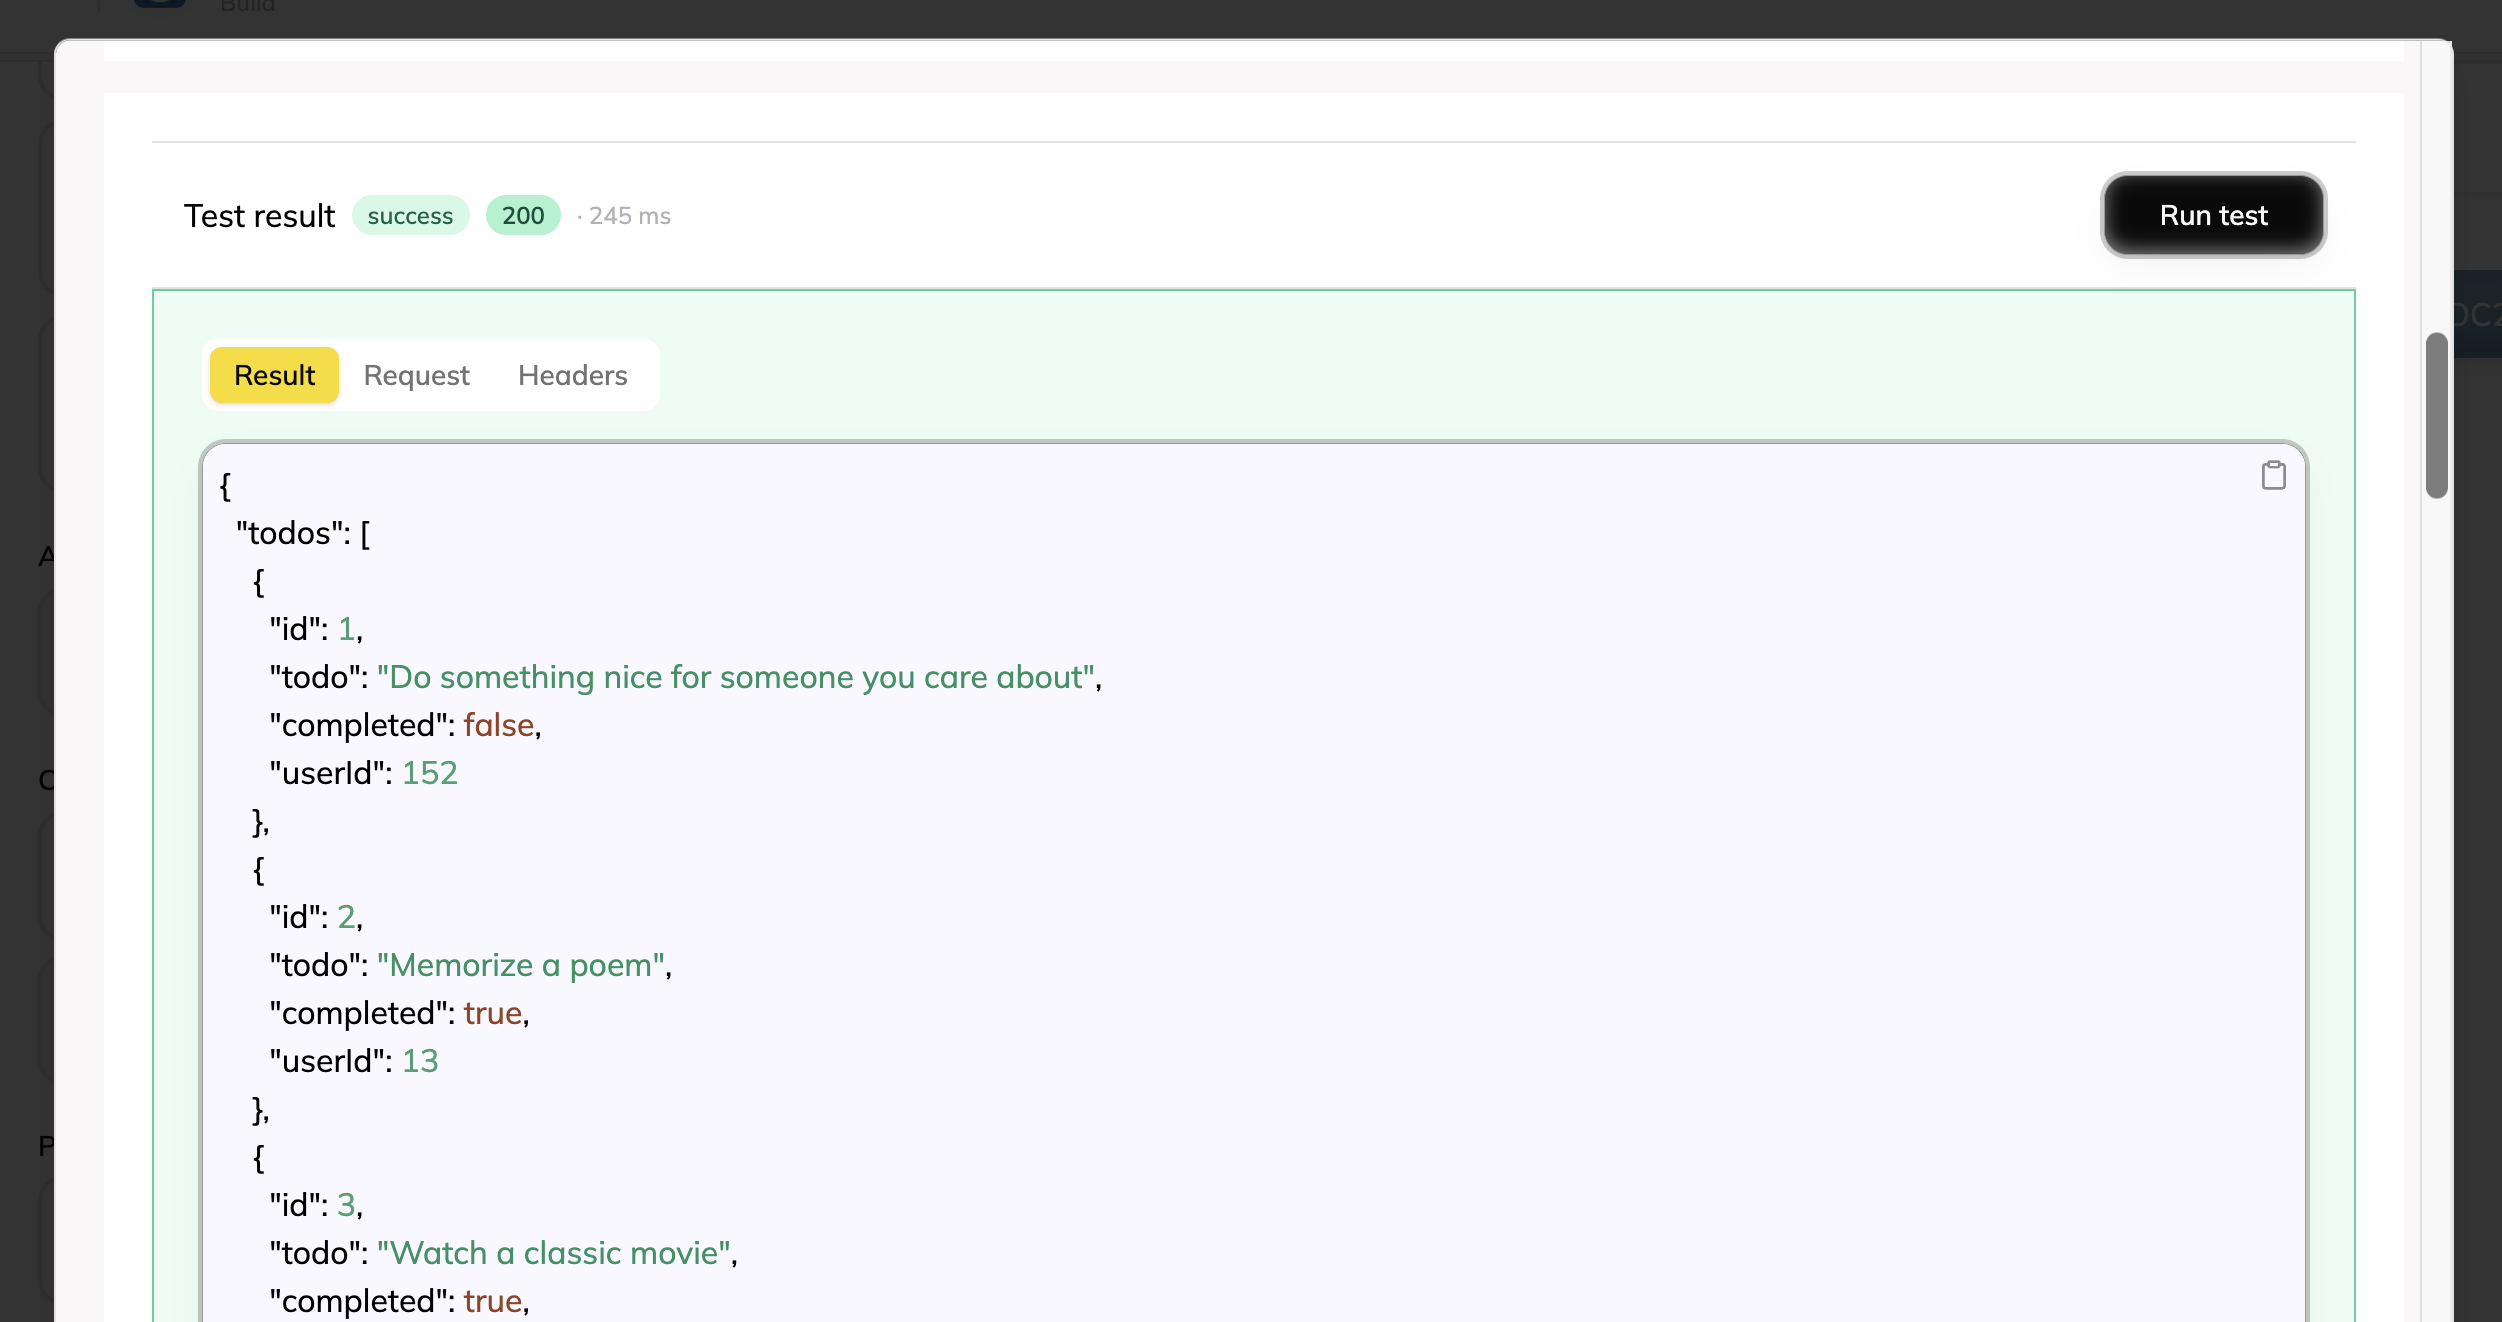
### 4. Test Your Action
Expand **Test Request** to verify your configuration:
 ### 5. Save and Use
Click **Create Action** to save. Your AI can now search users when asked.
## Import from cURL
Quickly create actions by importing cURL commands:
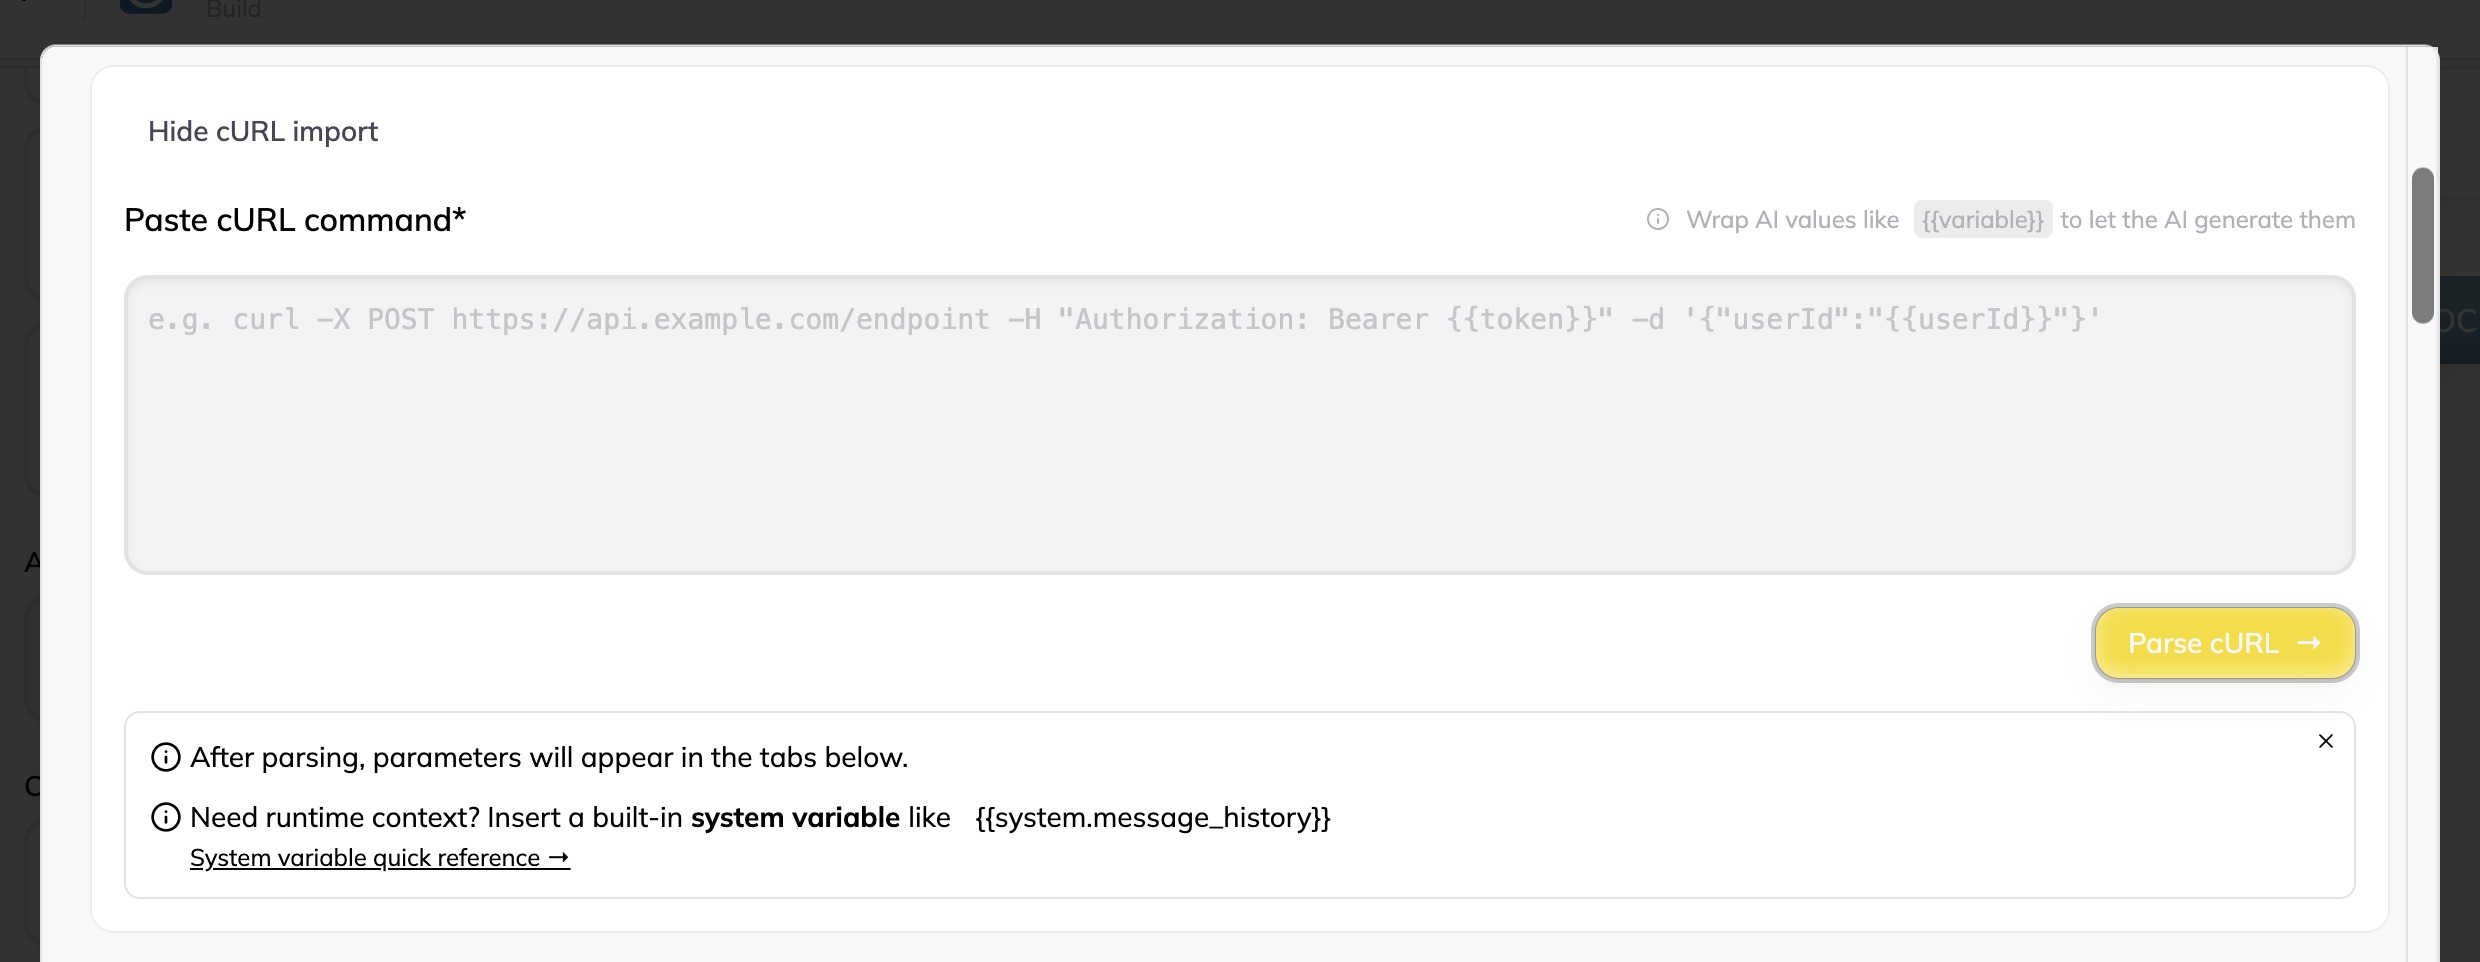 ### 1. Paste cURL Command
For example:
```bash
curl -X POST https://api.example.com/messages \
-H "Authorization: Bearer {{var.API_KEY}}" \
-H "Content-Type: application/json" \
-d '{
"to": "{{email}}",
"subject": "{{subject}}",
"body": "{{message}}"
}'
```
### 2. Parse and Configure
Expand **Import from cURL**, paste the command, and click **Import** to auto-populate:
- Method: POST
- Headers: Authorization, Content-Type
- Body parameters with AI placeholders
### 3. Configure Placeholders
The importer sets each parameter's source from its value:
| Value in the cURL | Imported as |
| --------------------------------- | ------------------------------------------------ |
| `{{email}}` | **AI fills it in** |
| `{{var.API_KEY}}` | **Application variable** `API_KEY` |
| `{{system.user_id}}` | **System variable** (only names Chipp supports) |
| A `messages` array of `role` / `content` objects | One **AI fills it in** parameter of type **List** |
| Anything else | **Fixed value** |
A `{{system.NAME}}` that is not a real system variable is kept as typed, so the action reports "Unknown system variable" instead of quietly sending an empty value. For each AI-filled parameter, write instructions that tell the AI what value to provide.
## Using Variables
### Application Variables
Define reusable values in the **Variables** tab:
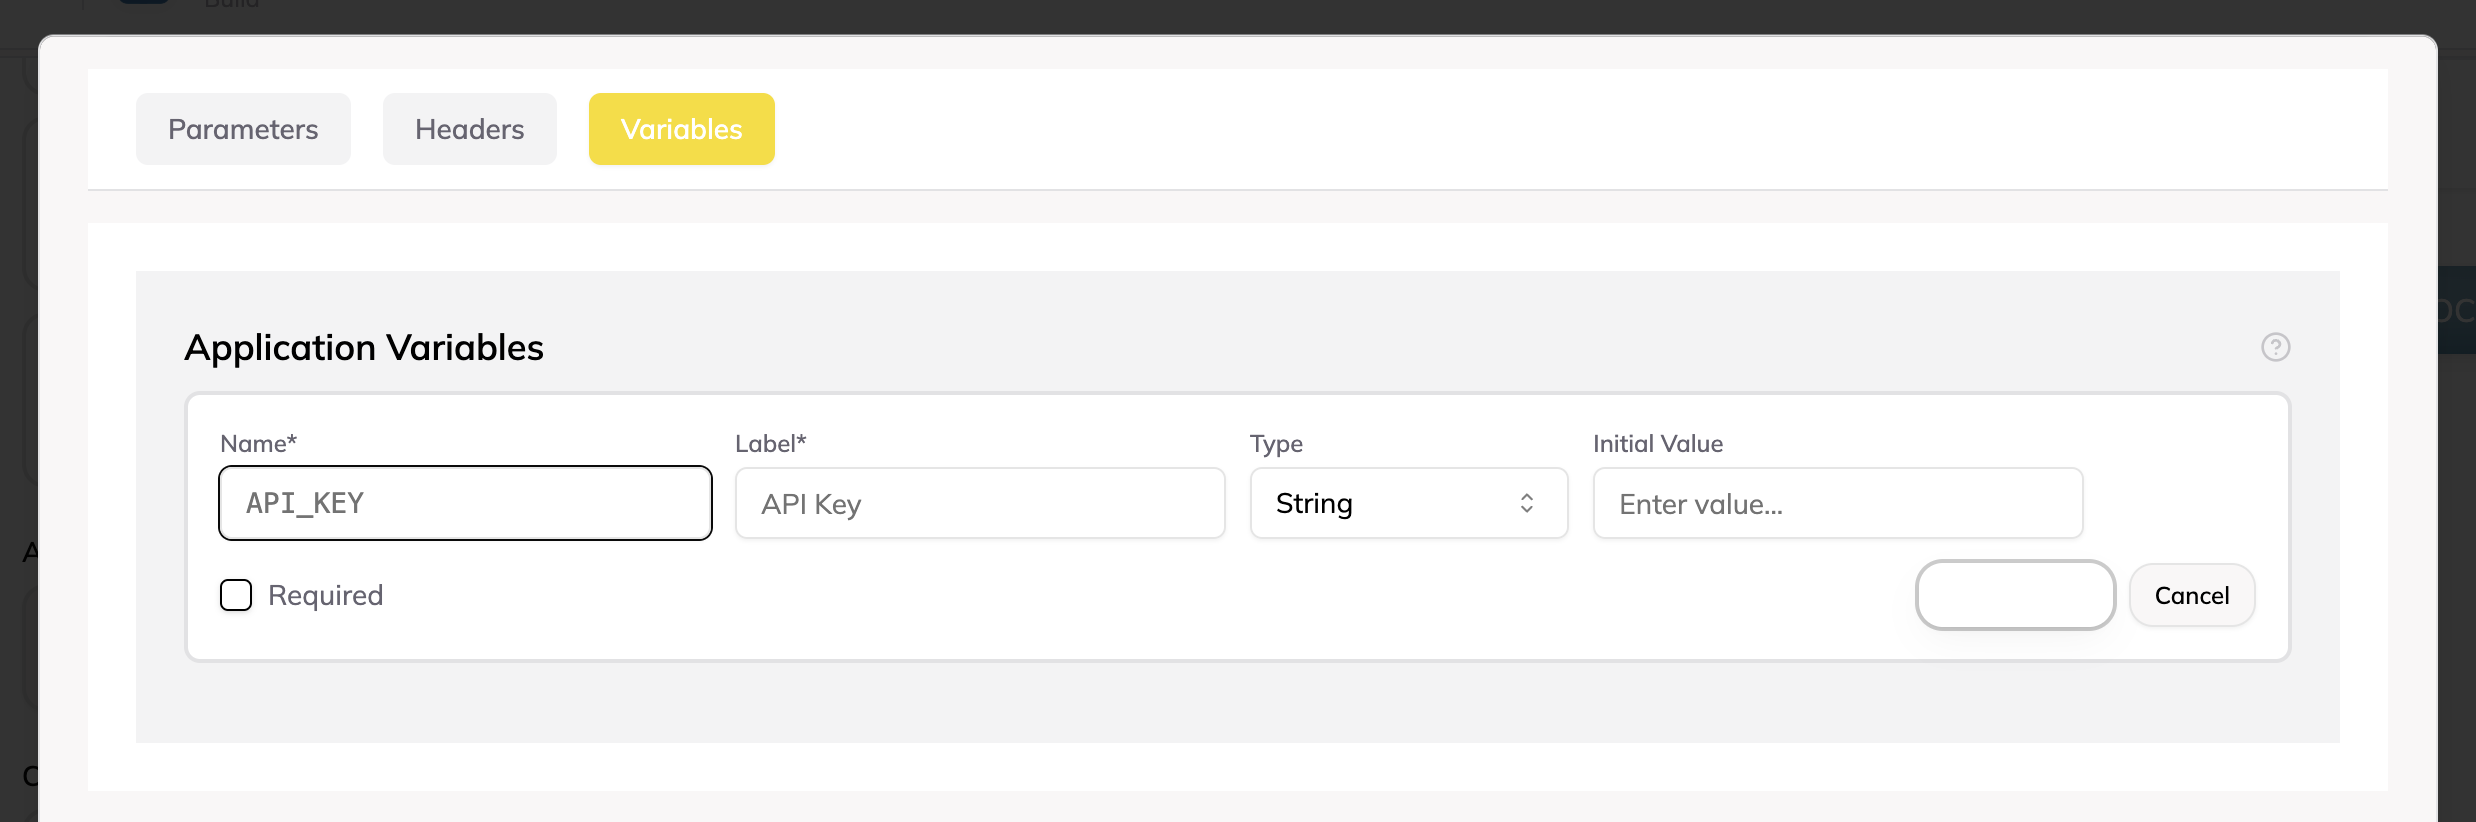 **Define once in Variables tab:**
- `API_KEY` = `sk-abc123...`
- `BASE_URL` = `https://api.example.com`
**Use in any action:**
- URL: `{{var.BASE_URL}}/users`
- Header: `Authorization: Bearer {{var.API_KEY}}`
### System Variables
System variables provide runtime context about the current user and conversation. They're automatically available in all actions:
**`{{system.user_id}}`**
- Returns the unique ID of the current user
- Format: String identifier
- Use case: Track actions by user, personalize responses
- Example: `"user_abc123"`
**`{{system.timestamp}}`**
- Returns the current time
- Format: ISO 8601 string
- Use case: Log when actions occur, time-based operations
- Example: `"2026-04-19T18:40:52.000Z"`
**`{{system.session_id}}`**
- Returns the ID of the current chat session
- Format: UUID string
- Use case: Link records in your system back to a conversation
**Example usage in the cURL importer:**
```bash
curl -X POST https://api.example.com/analyze \
-H "Content-Type: application/json" \
-H "X-User-ID: {{system.user_id}}" \
-d '{
"timestamp": "{{system.timestamp}}",
"session_id": "{{system.session_id}}"
}'
```
See [Variables and Secrets](/docs/custom-actions/variables#available-system-variables) for the full list of system variables.
## Action Dependencies
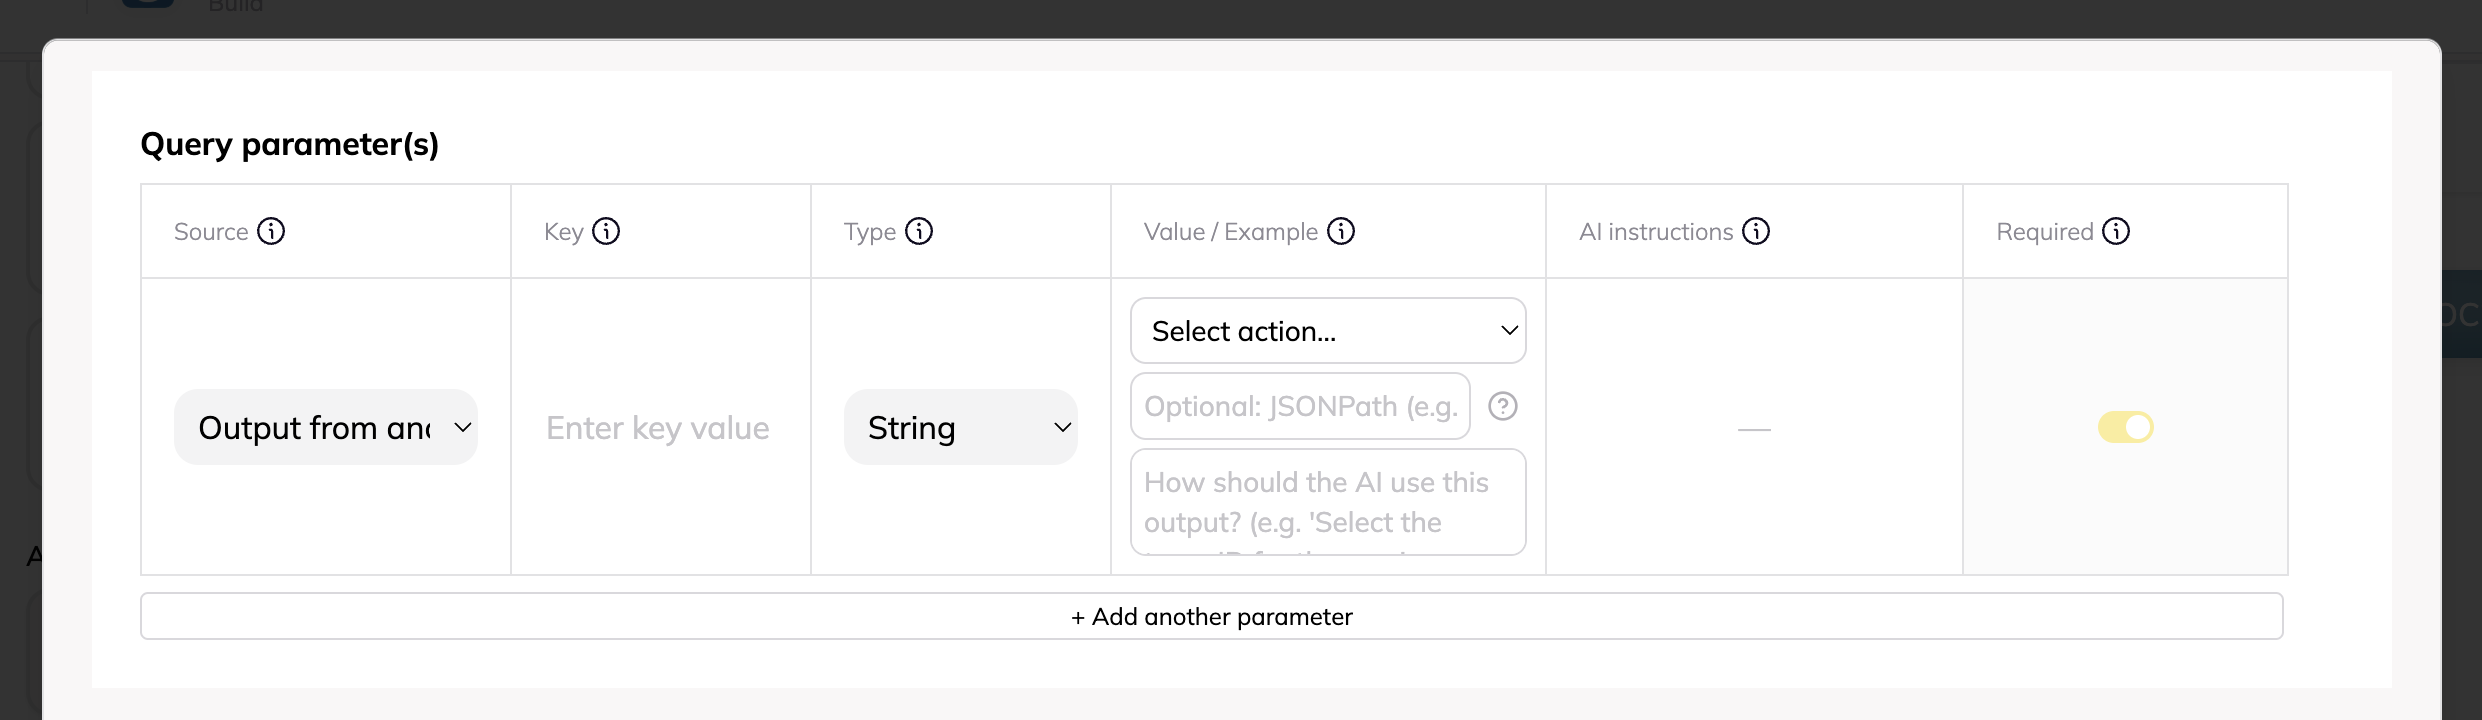 Action dependencies let you build multi-step workflows where one action's output becomes another action's input.
**How it works:**
1. User asks: "What are my recent orders?"
2. The AI calls "Get Current User", and Chipp stores the result.
3. The AI calls "Get User Orders". Chipp fills its chained parameter from the stored result.
4. The AI responds with the final result.
If the AI calls the second action first, the call stops and the AI is told to run "Get Current User" first, then try again.
### Example: Two-Step User Lookup
**Step 1 - Get User ID:**
- Name: `Get Current User`
- URL: `https://api.example.com/me`
- Returns: `{"data": {"id": "user_123", "name": "John"}}`
**Step 2 - Get User Orders:**
- Name: `Get User Orders`
- URL: `https://api.example.com/users/{{userId}}/orders`
- Path parameter `userId`:
- Source: **Output from another action**
- Action: `Get Current User`
- JSONPath: `$.data.id` (extracts `user_123` from Step 1)
Save Step 1 before you configure Step 2: the action list only shows saved actions.
**Result:** When the user asks about their orders, the AI:
1. Calls Get Current User and receives `user_123`
2. Calls Get User Orders with `user_123` and receives the order list
3. Responds: "You have 3 recent orders..."
**JSONPath examples:**
- `$.id` - Top-level field
- `$.data.user.id` - Nested field
- `$.items[0].name` - First array item
- `$.teams[*].id` - All team IDs, as a list
See [Output from Another Action](/docs/custom-actions/parameters#output-from-another-action) for the full JSONPath syntax.
## Status Labels
Under **Description**, two optional fields hold a present and a past tense label for the action:
- **While running**: "Searching customer database"
- **When done**: "Searched customer database"
Chipp saves these labels with the action. The chat does not show them yet: while an action runs, the chat shows "Running" and the action name.
## Best Practices
### 1. Clear Descriptions
Write descriptions that help the AI understand when to use the action.
### 2. Sample Values
Give each AI-filled parameter a realistic **Sample value**.
### 3. Test Thoroughly
Use the tester with various inputs before saving.
### 4. Use Variables
Never hardcode sensitive values - use application variables.
### 5. Handle Errors
Ensure your API returns clear error messages.
## Next Steps
- [Configure Parameters →](/docs/custom-actions/parameters)
- [Manage Variables →](/docs/custom-actions/variables)
- [Test Your Actions →](/docs/custom-actions/testing)
- [View Examples →](/docs/custom-actions/examples)